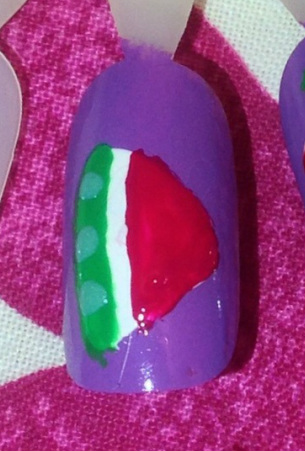
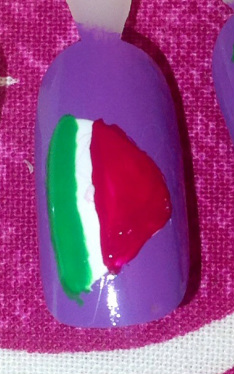
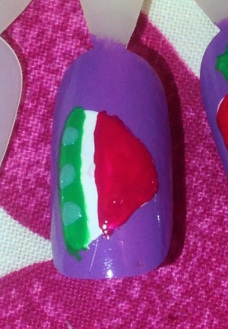
As promised, here is the mid-week blog post of the watermelon slice nail art tutorial!
Enjoy!
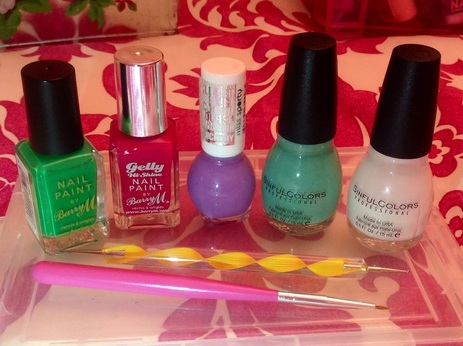
- Red/Pink nail varnish (Barry M Gelly Hi-Shine in Pomegranate)
- Lilac nail varnish (Miss Sporty Quick Dry Clubbing Colours in 344)
- Light Green nail varnish (Sinful Colours in Mint Apple*)
- White nail varnish (Sinful Colours in Snow Me White*)
- Small Dotting Tool
- Small/Thin Brush
*Sinful Colours is being discontinued in the UK
(I have no idea about the rest of the world)
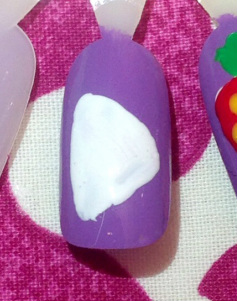
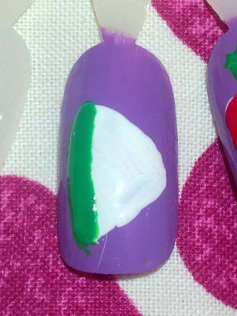
| I used lilac as my base colour, but as I said last time, you can use whatever colour, I just thought it was summery and contrasted well with the green and pink. Using the brush dipped in white, map out a triangle shape for the watermelon slice, and fill it in using the brush, the nail varnish brush, or a big dotting tool. |
| Once the green has dried, use the dotting tool dipped in the light green to add some dots to add more depth and texture to the skin of the watermelon. You could if you wanted to, add a few tiny black dots to the pink to look like pips but a) I only just realised I had forgot to do that and I took the photos last week, b) It might make the small space look dark, and c) the design is actually quite small in reality so it would go unnoticed anyway. Done! |
When you break it down it's easy to manage!
I would love to see your recreations so if you give them a go, tag me in them or use the hashtag #nailartnut or #abibailey, I'll be on the lookout!
I should be back on Sunday with another post for you, until then,
thanks for reading!
Abi xxx
