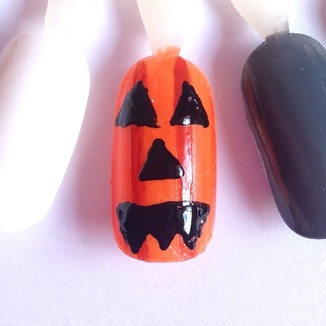
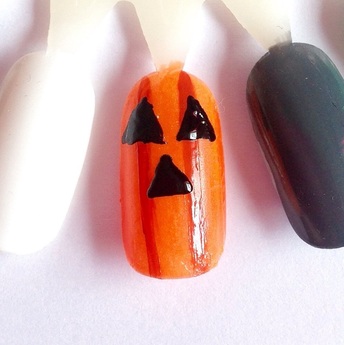
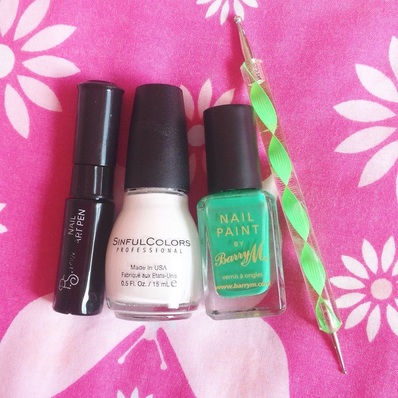
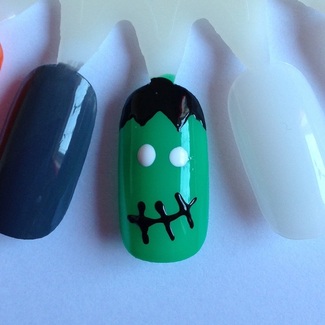
Here's what you'll need:
Hello everyone!
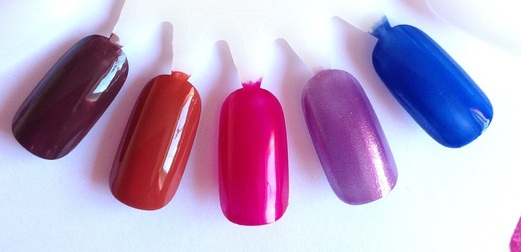
I have another nail art tutorial for you today (sorry if you're getting bored of them, my blog will be back to normal soon!)
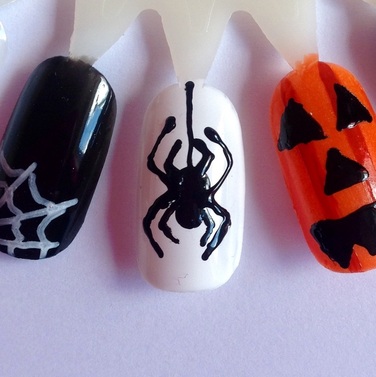
Today is this incy wincy Spider, you need very little to create him! Let's get started.
I have another nail art tutorial for you today (sorry if you're getting bored of them, my blog will be back to normal soon!)
Today is this incy wincy Spider, you need very little to create him! Let's get started.
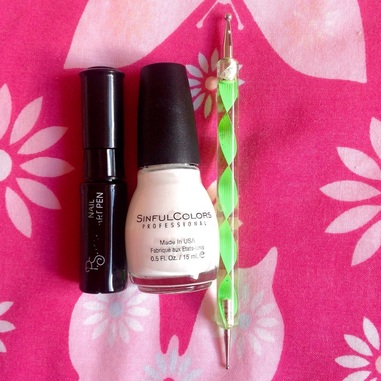
- White Nail Varnish (Sinful Colours 'Snow Me White')
- Black Striper/Nail Varnish (From Primark)
- Dotting Tool (or Bobby pin)
- Black Striper/Nail Varnish (From Primark)
- Dotting Tool (or Bobby pin)
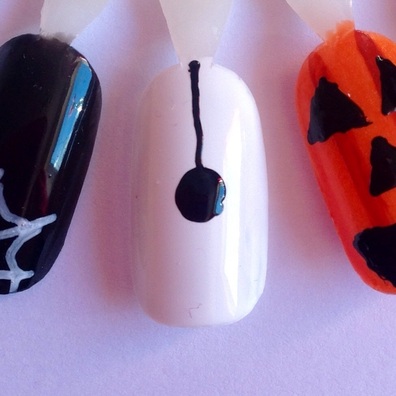
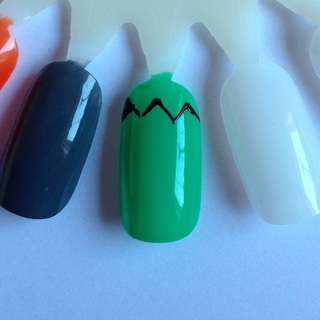
Using the black striper, draw a line from the top of the nail, down to the middle.
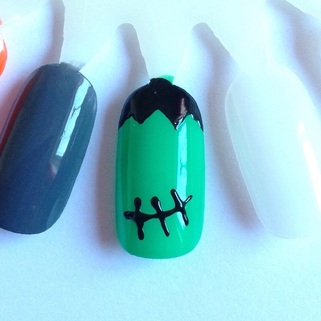
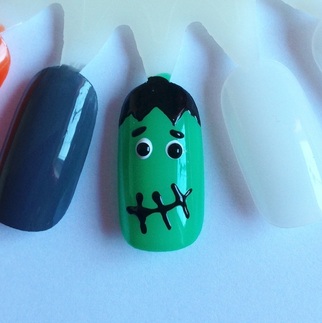
Next, using the dotting tool and the black, make a large dot at the end of the line.
Next, using the dotting tool and the black, make a large dot at the end of the line.
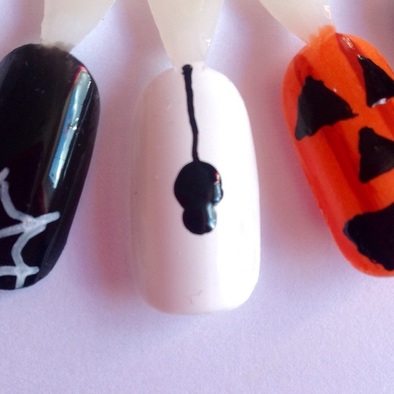
Make a smaller dot directly below the dot you just made, overlapping it slightly.
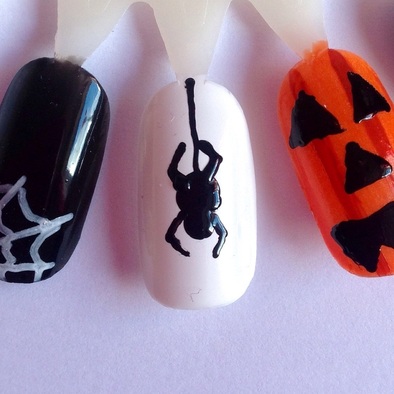
Using the striper, create the four smaller, inside legs.

Lastly, create the last four legs, starting from the middle of the spider's body.
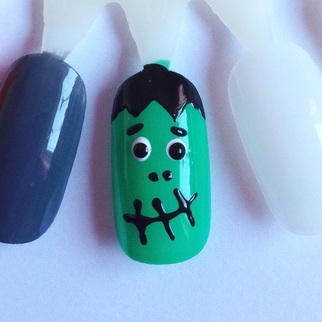
There we go, looks a bit tricky but isn't too bad.
There we go, looks a bit tricky but isn't too bad.
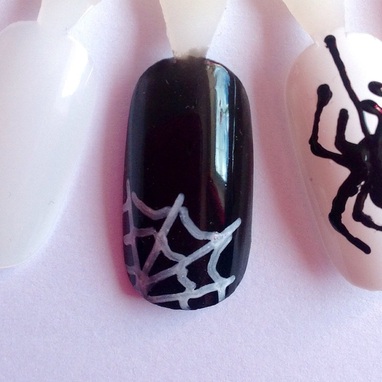
I created this spider web by drawing four diagonal lines from one corner and linking them with little 'U' shapes.
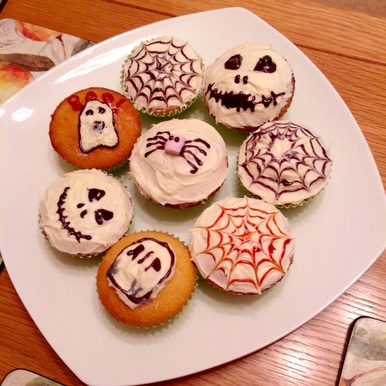
Also how cute are these cupcakes that my sister made and decorated?! So simple, yet so effective (and very tasty)
That's it from me today! As usual if you recreate these make sure to tag them with #NailArtNut and/or #AbiBailey, I'd love to see them!
I'll probably speak to you in the middle of the week with another tutorial, I'm not sure yet, otherwise it'll be Sunday like usual!
Thanks for reading!
Abi xxx
That's it from me today! As usual if you recreate these make sure to tag them with #NailArtNut and/or #AbiBailey, I'd love to see them!
I'll probably speak to you in the middle of the week with another tutorial, I'm not sure yet, otherwise it'll be Sunday like usual!
Thanks for reading!
Abi xxx