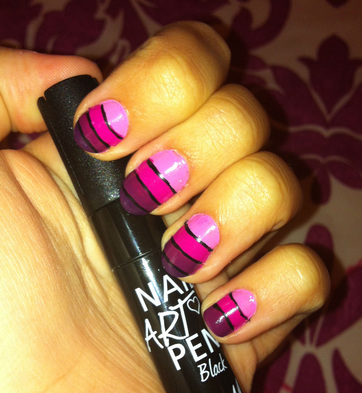
Welcome back to my blog! It's been a week since I started this blog so I thought now would be a good time to give it some content. How about a nail tutorial? I've never done one before because usually I just do them messily, clean them up, take a snap and whack it on instagram! so I thought it would be fun to try it out, apologies for the crappy iPhone quality photos! Let me know what you think of them :) and check out my nail instagram for more fun ideas! (link at the top)
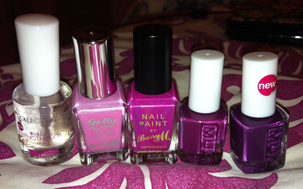
- "2 in 1 Strengthener and Hardener" from Collection (used as a base coat and a top coat)
- "Dragon Fruit" from the Barry M Gelly Shine collection (I'm a huge fan of Barry M!)
- "Fuchsia" from Barry M
- "Plum Noir" from MUA (Make Up Academy)
- "Deepest Purple" from MUA
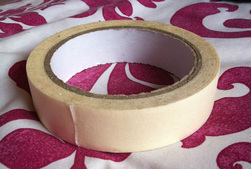
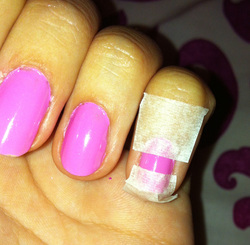
Then using the masking tape, I sectioned off a small 'block' of colour to paint over with the Fuchsia polish
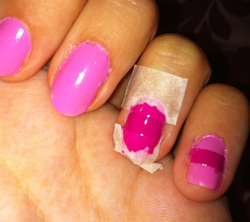
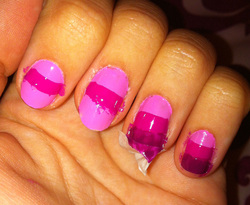
If your nails are long enough for a fourth colour, use another bit of tape to block off the end and then carefully fill in the gap with the same colour
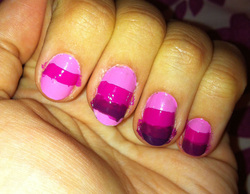
Don't worry if they're a bit messy, you can always clean up afterwards with a cotton bud dipped in nail varnish remover
If the lines are a bit dodgy (like mine!) you can always paint over them, but it's not crucial because you'll be outlining them which will hide it anyway!
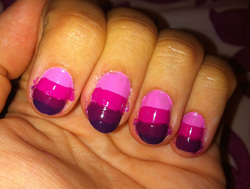
I then used a top coat to smooth the design out a bit.
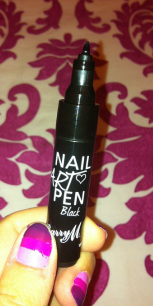
Wasn't too hard was it?
Talk to you next week, Abi xx
