Hello Everyone!
Happy Sunday! Did you know it's also International Women's Day?
Today I thought I'd do a little post showing you how I apply my acrylic nails.
Brace yourselves for some last minute, shocking quality photos...
You'll need:
Happy Sunday! Did you know it's also International Women's Day?
Today I thought I'd do a little post showing you how I apply my acrylic nails.
Brace yourselves for some last minute, shocking quality photos...
You'll need:
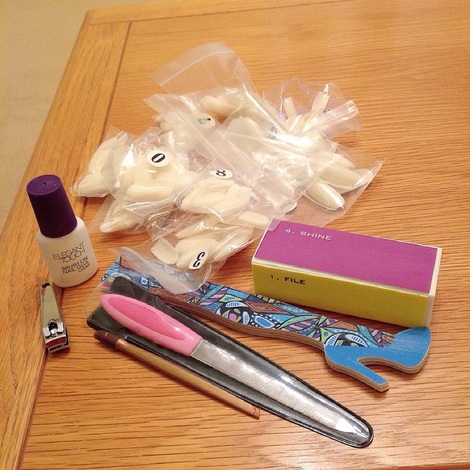
- Acrylic Nails (I bought mine from Amazon)
- Nail Glue (Elagant Touch Brush On Nail Glue from Superdrug, £3.09)
- Nail Clippers/Scissors
- A Range of Nail Files (some more coarse than others)
- Nail Varnish of Your Choice
- Nail Glue (Elagant Touch Brush On Nail Glue from Superdrug, £3.09)
- Nail Clippers/Scissors
- A Range of Nail Files (some more coarse than others)
- Nail Varnish of Your Choice
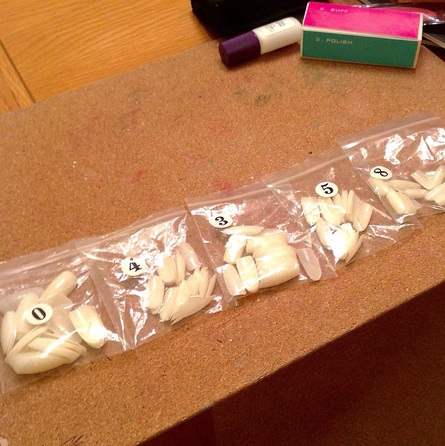
In the set of nails I bought, you get 10 individual packets of different sized nails. For my thumbs, I use packet 0, index finger is packet 4, middle finger is packet 3, ring finger is packet 5 and my pinky is packet 8. As the numbers increase, the nail size decreases.
This is just a reference as your fingers will probably require different nail sizes to mine!
I find it helpful to lay the nails out in order so I can just grab them easily, but if you're not a mental person, feel free to not bother.
This is just a reference as your fingers will probably require different nail sizes to mine!
I find it helpful to lay the nails out in order so I can just grab them easily, but if you're not a mental person, feel free to not bother.
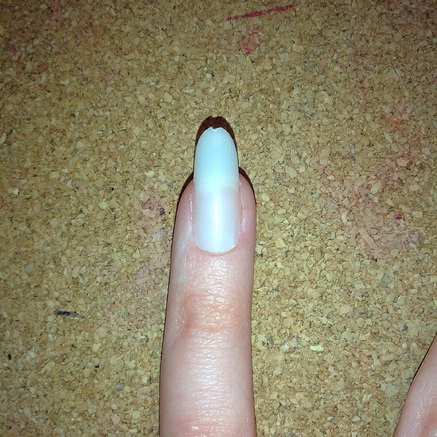
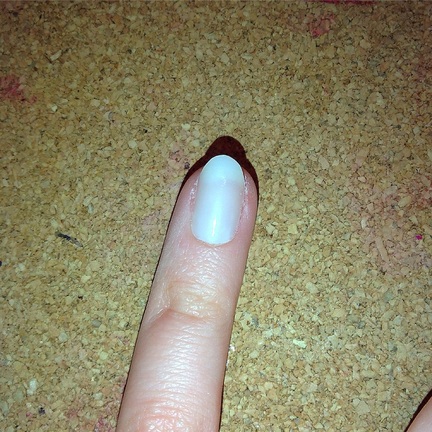
I find it easier to paint a lot of glue (And I mean a lot) over my nail, rather than the acrylic nail, and then press and hold in place for ten seconds while the glue adheres. If you prefer to paint the acrylic nail rather than your own, you do that. It's all about preference.

Once the nail has had time to stick, use the nail clippers or scissors (Bear in mind that acrylic nails are thicker and stronger than just fake nails. I suggest clippers as my nail scissors broke half way through. It wasn't even the blade, it was the handle! You may have seen it on my Instagram) to roughly cut the shape and length you want your nails. You could cut straight across for square nails, I've been really into the rounded almond shape recently.
Using a coarse nail file, file the nail into shape. Use a finer nail file to really smooth out the nail edge and make it look perfect.
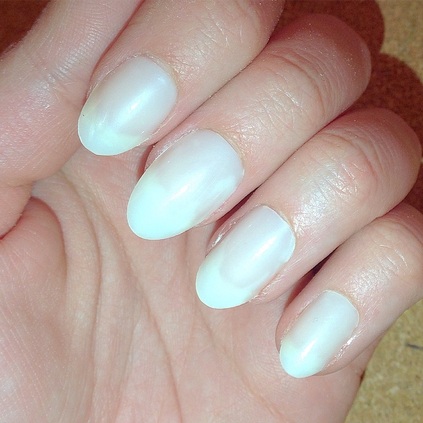
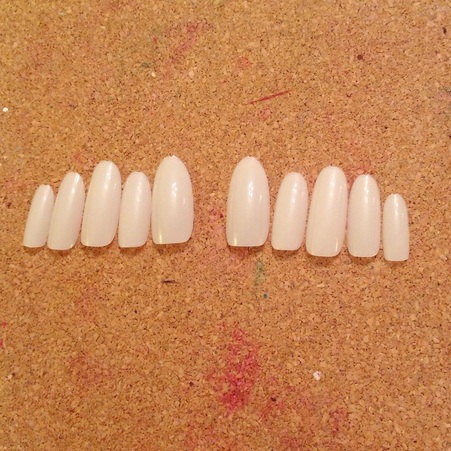
Do all your nails in the same way and then they'll look a bit like this. Personally I think I did them too short this time around, but that's ok, I've only done them a couple of times. Practice makes perfect!
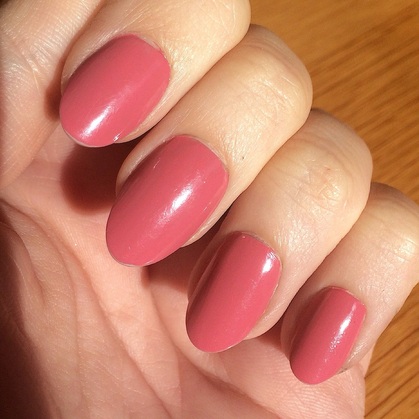
Add a lick of paint and you're set! This is two coats of Make Up Academy's 'Amaretto Crush' on top of one coat of Barry M Gelly Hi-Shine in 'Almond'.
I love the lighter colours, especially Gelly colours, on acrylic nails. The first time I did them, I painted them with 'Almond' and was obsessed.
Hope that gives you a helpful little insight.
All my social networks are at the top, thanks for reading and I'll speak to you soon!
Abi xxx
I love the lighter colours, especially Gelly colours, on acrylic nails. The first time I did them, I painted them with 'Almond' and was obsessed.
Hope that gives you a helpful little insight.
All my social networks are at the top, thanks for reading and I'll speak to you soon!
Abi xxx